s1mple is arguably the best AWPer to have played CS:GO, but his powers soar even higher when he plays certain roles. CT sides on Inferno and Nuke are when we witness probably the most high-level Counter-Strike that’s ever been played.
Dammit, I gave away the fact that the next guide would be of Nuke, didn’t I? Ah well, we’ll see what tomorrow holds. Let’s talk about how you can not only master CT side AWPing on Inferno but also earn yourself overall game-IQ points in general.
The sharpest tool in s1mple’s skill shed is his versatility and mobility. He, along with other top-tier players like ZywOo, rotates from one part of the map to the other as quickly as possible by predicting what the Ts would do next. This foresight allows him to be unpredictable and wreak havoc even in places he’s not in. This trait is something you should definitely learn from players like s1mple and ZywOo.
A s1mple Round
Before I begin this guide, let’s look at a round that s1mple played to perfection. It singlehandedly encapsulates the kind of player s1mple is: insane aim, insane brains.
This was the fourth round in a match against Team Spirit. s1mple knew that Spirit didn’t have enough money to buy an AWP, and since he had an A spawn, he rushed to Top Mid and wide swung to kill chopper near T Stairs at Bottom Mid.
He quickly ran into Apps and found sdy jumping around there, but he failed to connect the flick. After missing the shot, he immediately changed his position and held Short. After magixx dies in Arch, s1mple takes the risk and pushes through the Moto smoke. After finding nothing there, he pulls out his knife again and rotates all the way to B, where he gets two kills from the Pillar beside Quad.
It was a great round where we saw s1mple with a gun only when it was necessary. The rest of his time went running around with a knife, trying to outsmart his opponents.
Let’s start with the actual guide now. The very first point is the start of the round, of course. Where you will play will depend on the spawn you get. CS:GO is a game of milliseconds; every moment counts. Using your spawn position to earn as much map control as you can is key early in the round.
So let’s talk about the different areas you are gonna play and the different situations you are gonna find yourself in these parts of the maps. Let’s begin!
A Long
s1mple loves to play A because there are so many different angles to play from, and so many different strats to keep the Ts at bay.
If you have a good spawn for A, you can peek down Mid and hold it for a second, before falling back a little and holding the angle for Alt Mid. After holding that angle for a second or so, you can fall back again, smoke Mid and go Moto (Base of A Long/Near Library). You can hold Apps from there for a little while.
s1mple sometimes wide swings to peek T Stairs in Bottom Mid, but I don’t recommend it to you, unless you are confident that the Ts don’t have an AWP. Confidence can come consistently only when you’re tracking your opponents’ economy, which I doubt you do. So yeah, s1mple does it, but I discourage you to do the same, in most cases.
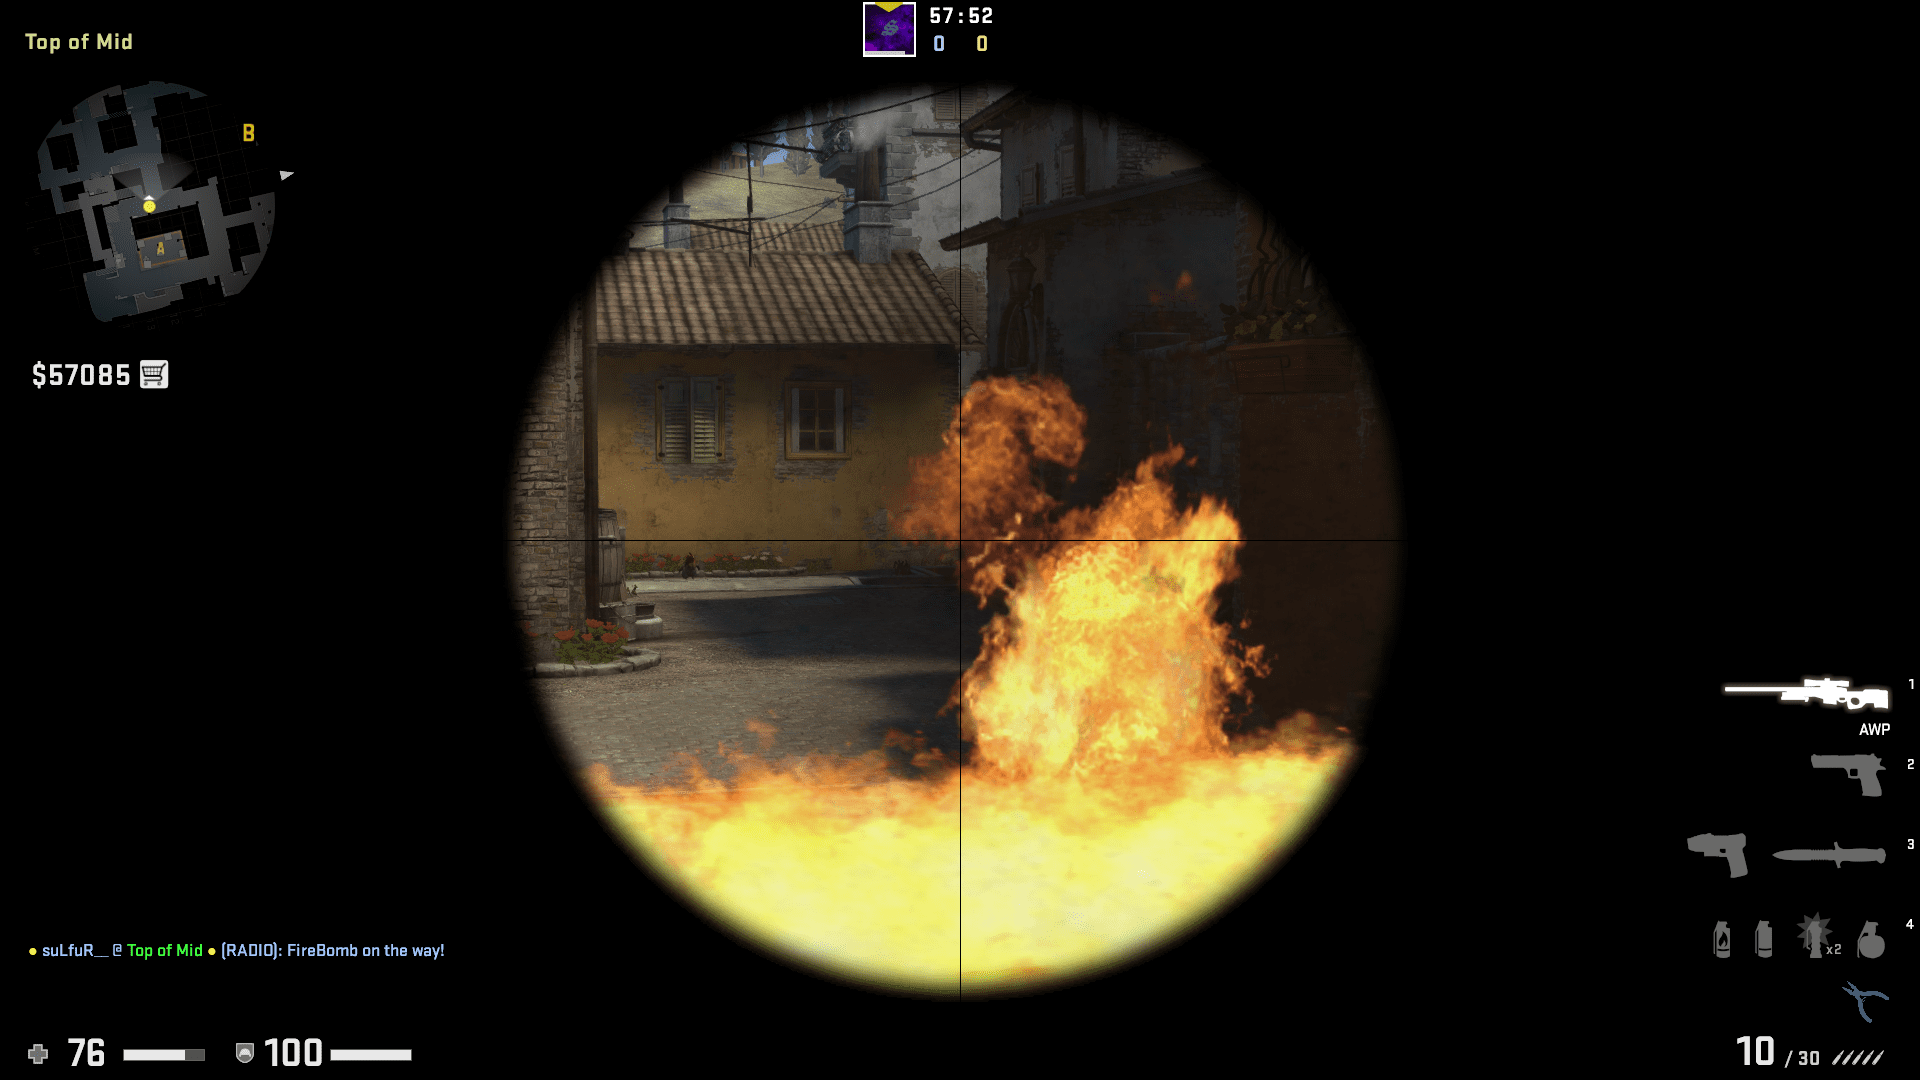
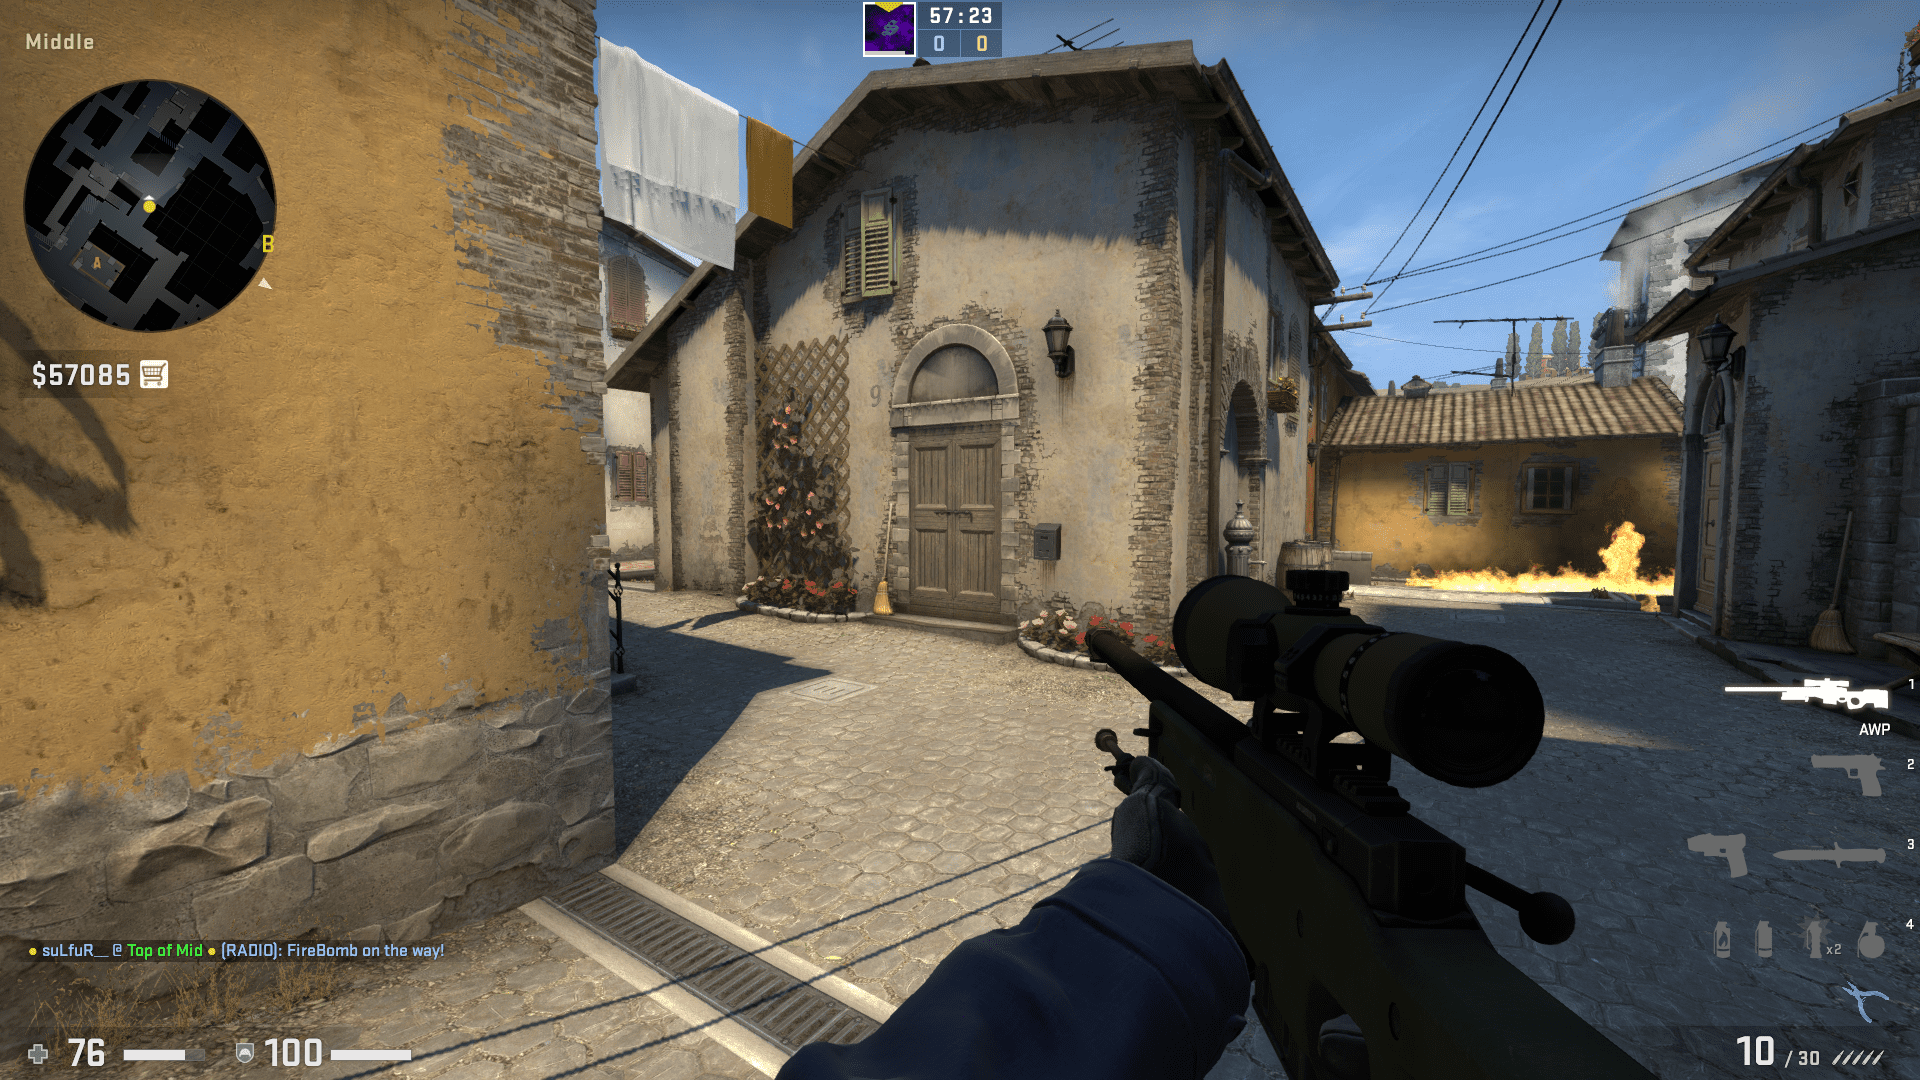
Another cute trick s1mple has is mollying close in Top Mid, and then peeking behind the fumes of the fire to pick someone off. It’s a neat trick you can try sometime. You can then go Boiler and pick up on any possible audio cues to see how serious the Ts are about A.
Holding from A Long is a great idea any day of the week. It’s a strong and safe angle since you can easily fall back to Arch. It also forces the Ts to use their utility to push you away. If you see a smoke coming your way, you can throw your own molly to delay the push. You can use this time to rotate around to Moto or Library to help your teammates in Short. Alternatively, you can just throw a nade after that Top Mid smoke blooms, making it a little easier for your teammates to complete the kill.
This is a default playstyle, but a nice touch s1mple adds to it is if he gets smoked off in Moto, he throws his own smoke near the Bike there, almost creating a one way. He can then pick off anyone in Apps and fall back easily.

If you are playing Top Mid and are being pressured, you can fall back into Arch for safety. You can quickly run into Library and hold Short. If Library is smoked off too, well, it’s a retake scenario then with your B players. Good luck.
If you’ve read my Connector ft. NiKo article, you know how much I love occasional aggression. Here’s the first aggressive maneuver I saw s1mple doing once. He would molly Bottom Mid and run down Mid to peek into Alt Mid. The molly will give him time to peek and fall back safely.
A less aggressive trick is that if you are holding Top Mid through A Long and if you see the A Long smoke coming, you can smoke off Mid, instead of mollying it. Then you can run through the A Long smoke and hold Boiler to pick off someone there. You should quickly fall back, though, since it’s not a round-breaking maneuver.
An important part of being an A Long player is being the rotator. If there is significant pressure at B, you’ll have to quickly rotate. Hence, it’s crucial that you preserve a flash so you can throw it to help your B players, assuming CT will be smoked off.
A Short
Playing A Short most probably means you are 100% committed to A. Also, it’s not a position you can play alone. Your teammate needs to keep an eye on Apps to make sure you don’t get shot in the back while falling back.
Early round, there’s this off-angle that s1mple likes to hold.

You can try it as well, and you’ll be successful in most cases, as long as one of your teammates is in Boiler.
A lot of what I said in the previous section is applicable in Short A as well, especially when you’re Top Mid.
Once your early-round peeks are over, you fall back into Short A. Depending on how much pressure is being applied, you can do various things. If the Ts are trying to take Mid control, your A Long teammate can smoke Mid while you can smoke Boiler, since it’s default to have someone Boiler while taking Mid control.
As I mentioned before, one of your A teammates must be posted on Apps at all times, because that’s the only position you are vulnerable to when you maneuver your way around A. An Apps peek can kill anyone in Short falling back into the site. Moto and Library are under threat as well. So many positions are vulnerable to Apps, hence the seriousness of someone keeping an eye out.
Also, you can easily get flashed when you’re holding Mid or Boiler from A Short. You need to fall back into the site, and if the Ts get their timings right, they can kill the A player supporting you and you’ll be stranded behind boxes, praying to get a kill before you eventually die.
Apps
You can enter Boiler and peek Alt Mid from there early in the round if the Ts don’t molly you. After a few seconds, you can fall back. You may flash and peek Mid if you like, but that’s kinda risky.
If your team is playing 3 B, then it’s a good idea for you to play Apps/Balcony. This is because you can lock down both Apps and Short from there, and with a full set of utility, you can easily handle the pressure Ts apply on you. You can fall back under Porch or into Pit if you’re being overrun, and by this point, your CT player in B must’ve rotated into Library to help you out.
Ts double peeking Apps is common these days, and it’s kinda difficult to deal with. One way to counter this is to have a rifler move forward into Apps and hold the right side, while you hold the left. It’s an interesting combo, and worth trying out.
B
Though s1mple clearly loves playing A, he needs to start B as well. B Spawn is a good reason, but his aim of unpredictability can only be achieved when he mixes up his approaches.
As an AWPer, there’s not a lot to say here. I can write up a detailed article for when a rifler wants to play Banana perfectly, but as of now, the most an AWPer can do is sit back and wait.
Playing CT is crucial for a player of s1mple’s stature. If he’s near Coffins or deep in B, it’s hard for him to rotate. If NaVi’s opposition finds out that s1mple is playing B, the wisest choice is to tuck your tails between your legs and run to A. To counter this, s1mple needs to be mobile, and playing CT is the only way to do it.
Throwing utility from CT is fair support to the aggressive rifler, if there is any.
If s1mple has the best B spawn and he’s feeling it that day, he can be aggressive and peek from Car while his teammates smoke the Car molly Ts usually throw. A barrage of flashes help as well, of course.
s1mple has a tendency to make his presence known in B and then rotating to A and playing there, which is barely a surprise given how much he likes playing A. Arch and Library are good positions to be in if there is significant pressure on A. Alternatively, s1mple can do his Mid peeks and quickly rotate to B to keep up his unpredictability charade.
Gaining Banana control and then leaving your AWPer near Car solo is a great position to be in. You can stack 4 on A, while your AWPer and his set of utility can easily hold off any B ideas from the Ts.
Overall, s1mple is a proactive and versatile player who tries to remain one step forward in every decision he makes. He tries to predict the way his opponents will think and he will try to outsmart them. CS:GO is not just about clicking heads. A round is won mentally first, physically later. s1mple is the embodiment of this, as he’s constantly predicting his opponent’s next move and keep himself in the advantage.
Well, that’s it for now! I enjoyed pondering about these Inferno tactics, and I hope you learned from this guide. Though I said a Nuke ft. s1mple article might come next, I just feel like an in-depth Banana guide deserves to come first. I’ll surprise myself.
Until next time; cheers.
